Device Screen Shots
You can take a screen shot of any emulator or hardware device running under
Android Studio.
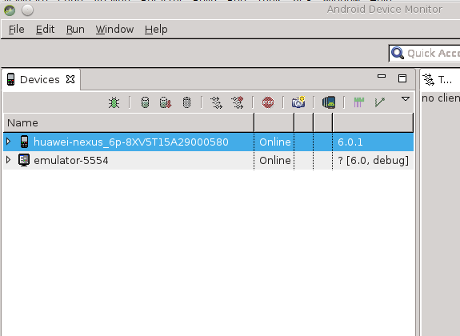
- Switch Android Studio to DDMS mode using the Tools > Android > Android Device Monitor.
This opens a window displaying currently-running devices and emulators, as illustrated in the following figure.
- The running devices and emulators are listed in the Devices
tab on the
upper left. Select the desired device or emulator from the list. In the above figure, the display indicates that
an AVD called emulator-5554 is running, and that a Huawei Nexus 6P phone is connected by USB. In the above figure,
the phone has been selected.
- Be certain that the selected device or emulator is displaying the screen
that you wish to capture. Click the small camera icon above the list of devices. This will pop up a
window containing an image of the screen that was captured.
- You may use the menu on that window to manipulate the image. Most important,
you can click the Save button
and save the image as a .png file on your
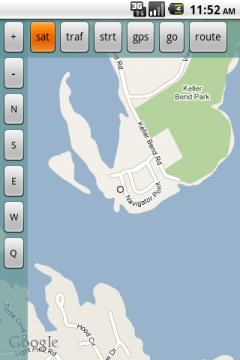
computer. The left figure below shows a screen capture of an app launched
on an emulator and the right figure shows a screen capture of the the same app launched on a
phone.
- Note: ADB deployment to emulators or devices and the DDMS window won't work at the same time, so you will get a warning and one or the other must be terminated if you try to launch one while the other is running.
The ability to take a screen shot of any actual device or emulator is very useful in documenting your Android programming accomplishments (or anything you can display on the screen for an actual device).
Last modified: June 5, 2016